Features
Member conditions
Elements
Interactive Cursor
This element allows you to add an interactive cursor that can be set up to interact with specific elements on the page. It can be used across the whole site or only to appear over certain elements.

[Note – currently creating video walkthrough to show you configure in different ways]
The cursor structure
The interactive cursor is in three parts..
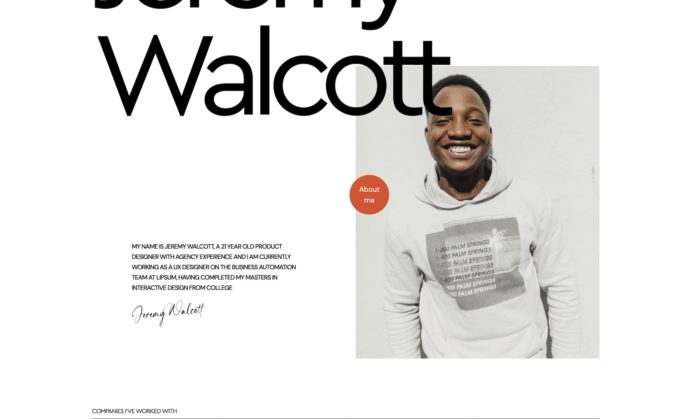
The ball – This is the coloured circle that follows the cursor position in the viewport. This can expand to show text when hovering over specific elements (if that feature is being used).
The trail – The trail is a second element that trails slightly behind the first. This element expands when hovering over the chosen selectors. Ideally this needs to remain somewhat transparent, so the user can still see what elements they are selecting.
The text – if an element has text associated with it, it will be become visible as the user hovers over that element.
Previewing states
The element has four states, which will be applied depending on which elements the user is hovering the cursor over. When you first add the element inside the builder, a ‘preview’ area will appear where you can change the states. This can be hidden once you have set it up for your site or page.
Each state has it’s own settings for controlling the amount of scale and changing opacity. (it’s recommended not to try to animate any other CSS properties for performance reasons, sticking to opacity and transforms is going to give the smoothest results)
Standard – This is the default state as the user just hoveres generally over the page. Note – if you only want the dynamic cursor feature to appear over a few elements and not on the entire page, simply reduce the scale down to zero at this setting.
When showing text – One of the features (as described more below) is the ability to show text that can be specific to elements. For this to show, the element will expand and the text becomes visible.
Hovering over selectors – This state is for when a user is hovering over a something of interest, for eg a link, button, or input for a form. You can change the selectors that are included and customise the scales and opacity.
Mousedown – When the user actually clicks, the cursor will shrink by default.
How to Control which Elements the Cursor reacts to
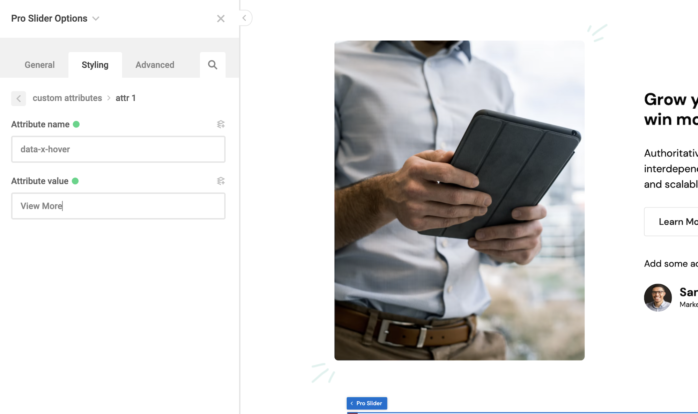
To make the cursor expand and include text when hovering over a specific element, add the custom attribute with the name ‘data-x-hover’ and the value being the text you want to show.

For links, buttons, inputs, call to actions etc where you want the ‘Hovering over selectors‘ state to be shown, include the selectors inside the settings.
Note – for devices where there is no ‘hovering’ the element will not be active.