

Let’s go through the workflow of creating a template for blog posts using Zion Builder Pro‘s theme builder.
Add a New Template for Single Posts
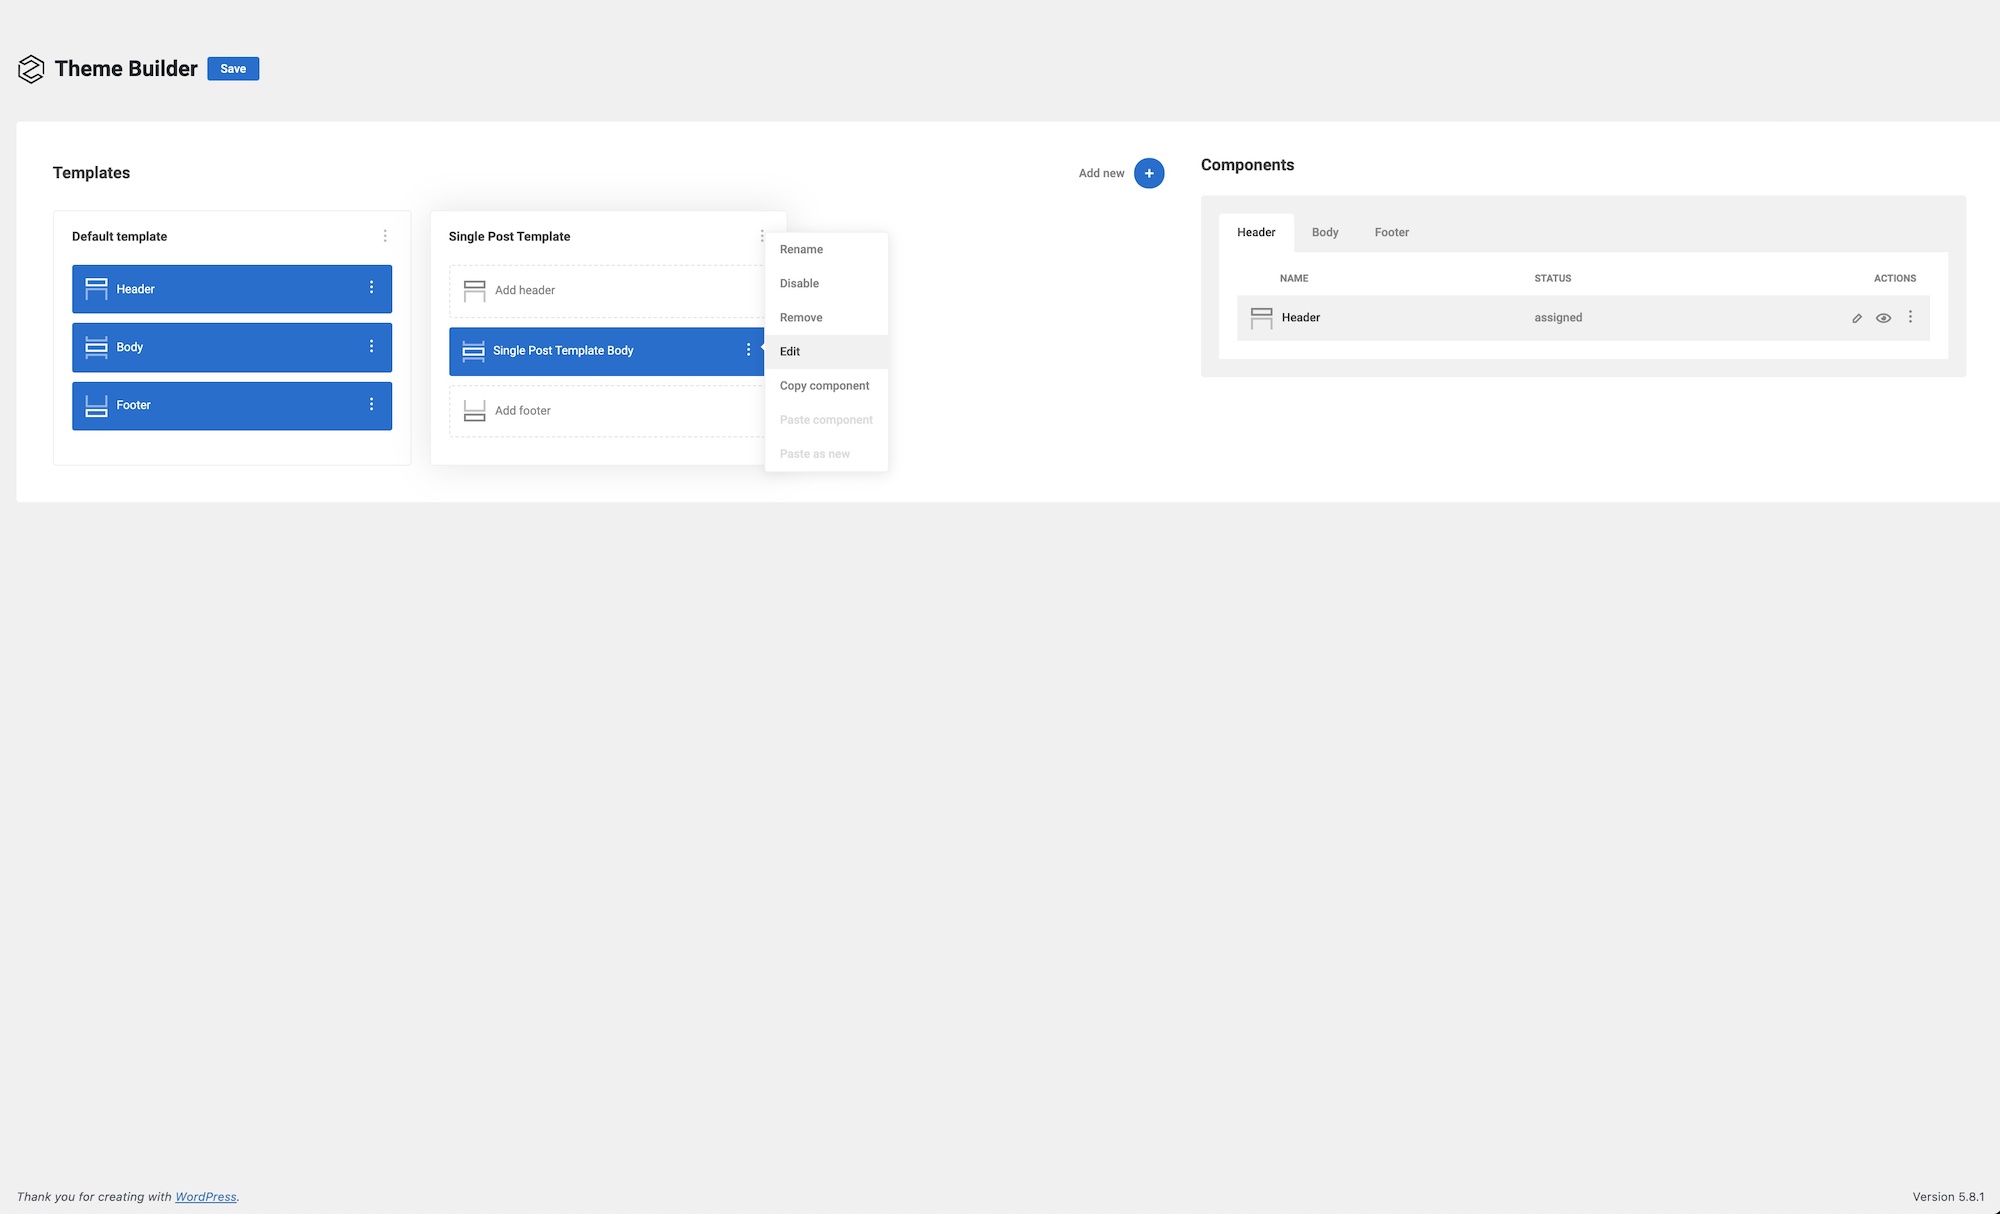
The first thing is to go to the theme builder and add a new template that applies to All Posts.

Assuming we’re going to be using the site’s main header and footer from the default template, the only component needed is for this template is the body.
Add Elements & Create the Layout
Editing this body component inside the builder, we just need to add our basic elements that would make up the structure of the post.
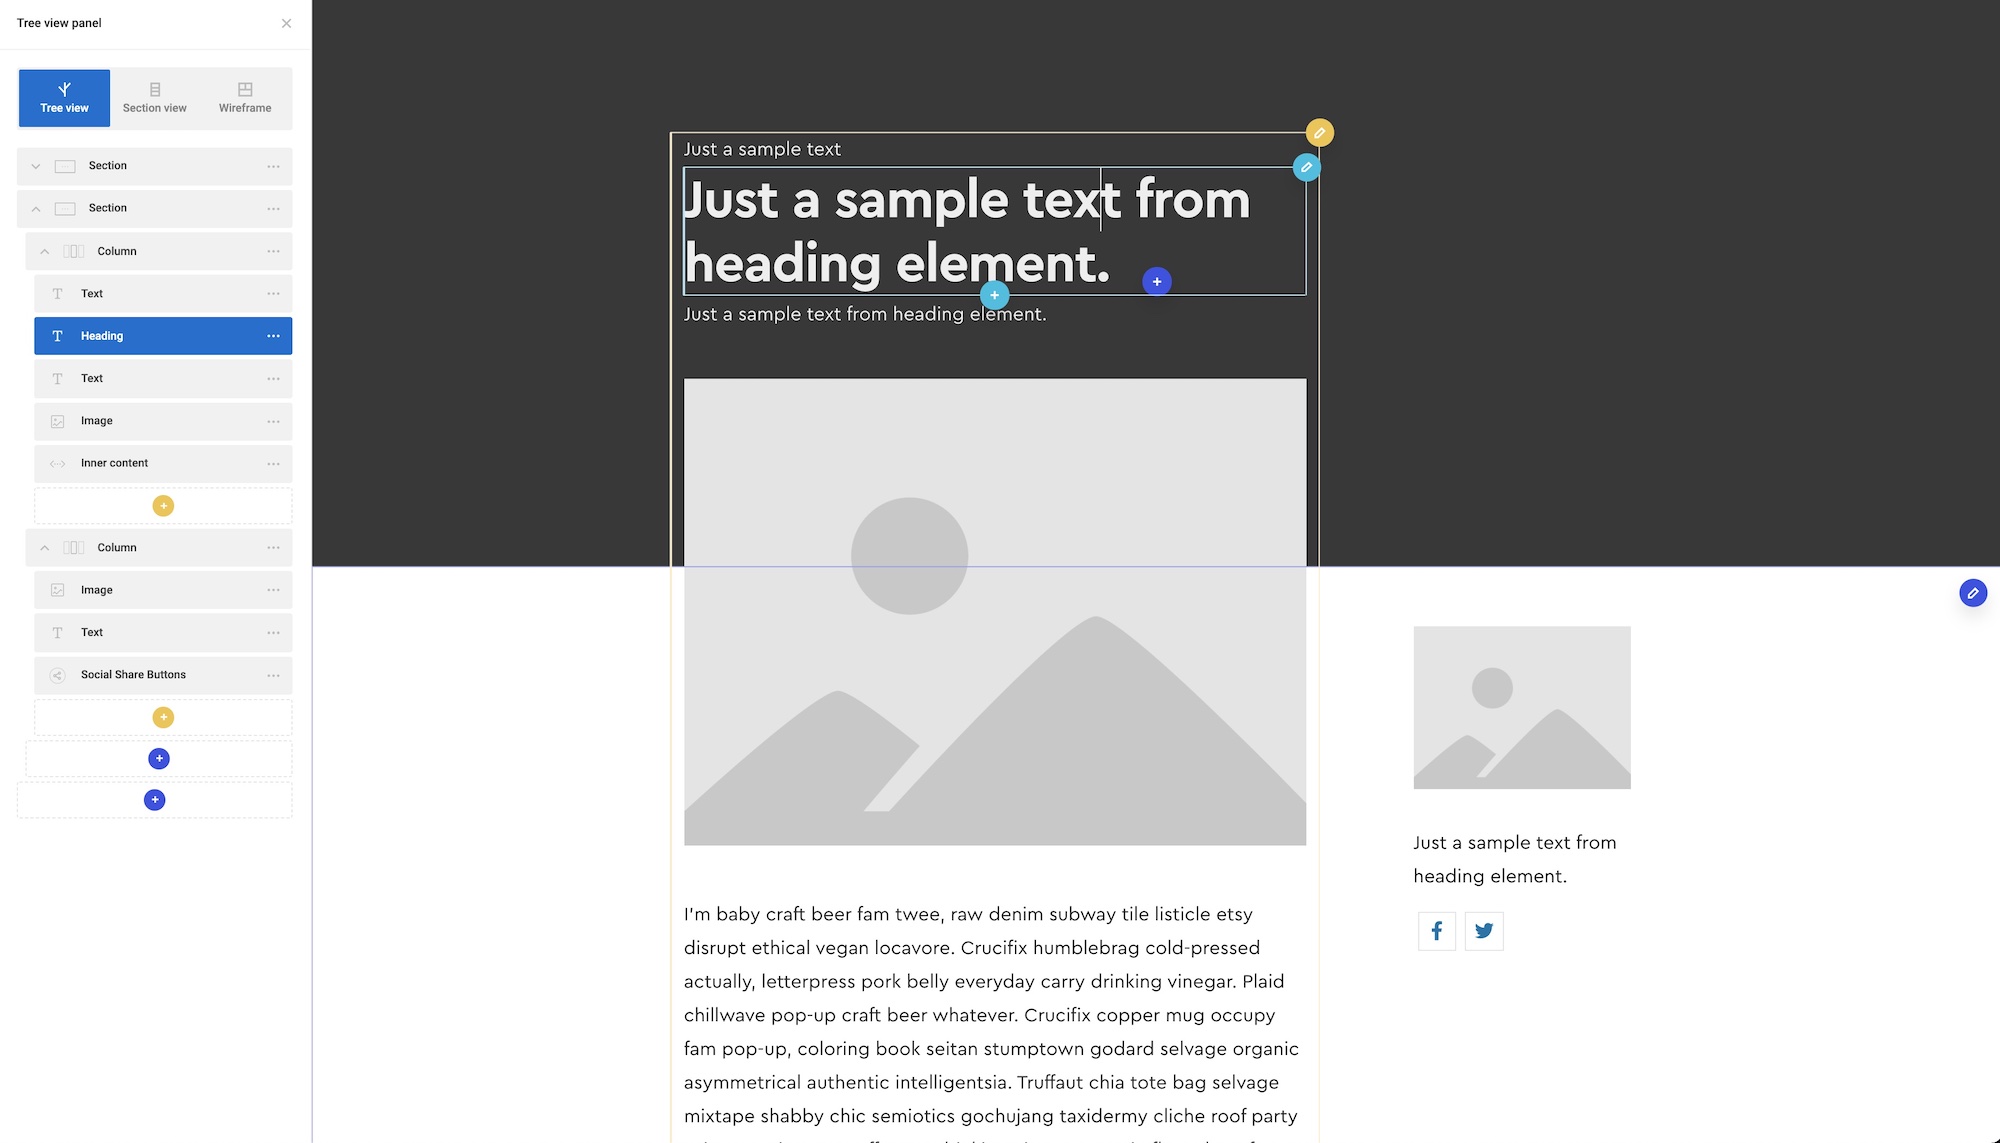
Here’s the list of the common items that you’ll likely want on a blog post and which elements to add for them;
Post Title – Add a Heading element and select the dynamic data icon and choose ‘Post Title’
Post Content – Add an Inner Content element, this will pull in the content from the WordPress post content.
Post Meta – (Post Date, Post Terms, Author Name) Add a text element for each and select the dynamic data icon to match the data you need.
Social Share Buttons – There’s a dedicated element for this aptly named ‘Social Share Buttons’
Populate with Dynamic Data
Once the layout is complete, we can now test it with some data from our posts. Clicking the dynamic data icon allows you to populate the content of each element with data from the post. Post title, author name, featured image, any custom fields you have etc.
See the Zion Builder docs for how to use dynamic data in more detail.

Head to Page Options > Dynamic Data Preview Source to select different posts to preview how this template looks with the content from different posts. It can be useful to test different heading lengths etc to make sure your layout isn’t going to break or look strange on different devices.
Add ‘Extra’ Elements
Above is the basics you’d need for a blog post to display, but there are a few extra elements available for ZionExtras users designed specifically for use on singular posts or pages that can be helpful.
Reading Time – Adds an estimated reading time of the current post, useful for including in the post meta.
Reading Progress Bar – Adds a visual way to display how far through the article the reader currently is. Useful to have at the top of the viewport.
Adjacent Posts – Adds navigation between previous and next posts. Great for adding at the bottom of blog posts to keep people reading.
Table of Contents – Adds an automatic table of contents linking to each heading found inside the blog post. Can be used inside a sidebar as a sticky element, or inline at the very top of the post.
Author Box – [Not yet available but coming v/soon] Simple way to add full author details, author bio, with contact link to posts, links to the author’s website, social media links etc.
That’s it
It’d be the same process for custom post types, whether it’s a portfolio, a property listing, team member profile or whatever else. It’s just a case of applying the new template to the correct post type and then choosing which dynamic data you add-in. But the elements you’re adding and the workflow is going to be mostly the same each time.


