In this tutorial, we’ll look at how to create a sticky header that shrinks and changes color when the user starts to scroll down the page.
A quick look at the result can be seen here.. (note that the end result is much smoother when not in a screen recording)
Add your Header Layout
A shrinking header effect only makes sense really if you have one header row and the header becomes sticky immediately after scrolling, otherwise, it will look disjointed.
As soon as you add a header builder, there’s automatically one header row inside ready for the content to be added. It’s a flex container so it’s no different to adding content inside any container, but you can use columns also inside if you prefer that method.

Add Overlay & Set the Sticky Header
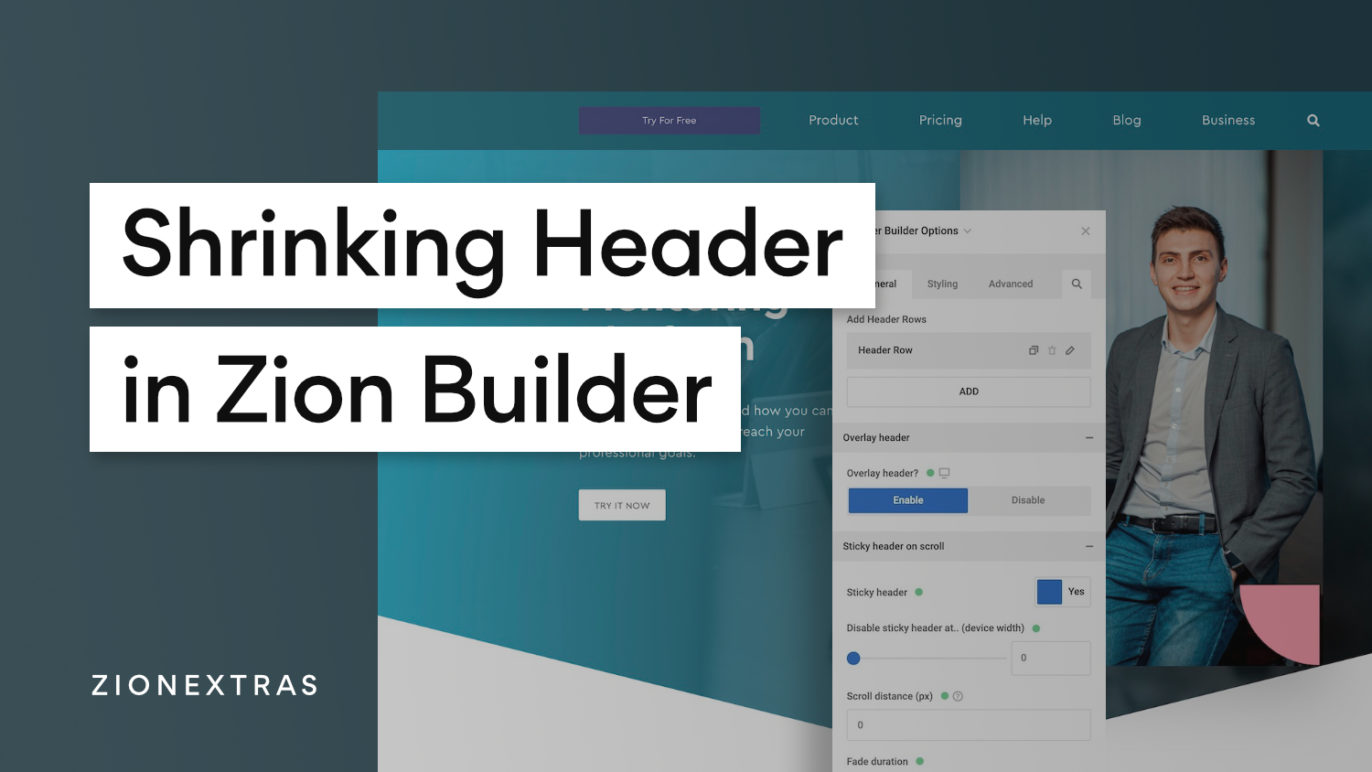
Once you have your header row setup, inside the header builder settings you can choose to have the header overlay the content. This isn’t necessary for the shrinking header effect, but ideal if your template has large background images.
Note this setting can be changed across different device sizes (spot the little responsive icon next to the setting name).
Enable the sticky header for the builder and be sure to set the scroll distance to 0 and the fade duration to 0 as we won’t be using any fade effect.

If you don’t need the sticky header on mobile, change the ‘disable sticky header’ at the viewport width of your choice, this will completely disable the scroll listeners on mobiles or any device size you choose.
Animate the Header Row when Sticky
There are a few settings found inside the Header > Row sticky for easy access that is ideal for creating shrinking headers. Background color, text color, and the height of the header row when it’s sticky. This is the part that will animate when the header becomes sticky.
I recommend choosing a solid color so the header content is readable and a height that is smaller than the original height you’ve set for the header row.

More CSS Properties to Animate
On top of the three CSS settings for the sticky header row, there’s also a dedicated styling tab ‘Header Row When Sticky‘ that allows you to conditionally add any styling that will only be applied when the header becomes sticky.

That’s it.
Note that if you want to change the colors of text inside the header row, you’d need to make sure the elements inside don’t have their own colors set. For example menu items, you’d need to change the color of the links to ‘inherit’ so they all to adapt to the color as set inside the header row container.
